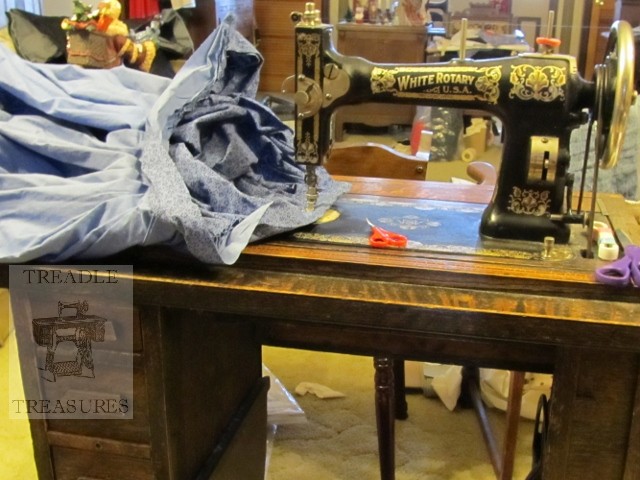
The pictures below will show a technique that I use to eliminate the time consuming hand sewing that patterns always seem to call for. I am working on a waistband for a dress in the photos but you can easily adapt it to cuffs or a collar. I used a printed fabric so it’s easy to see which is the wrong and right side.
Step 1
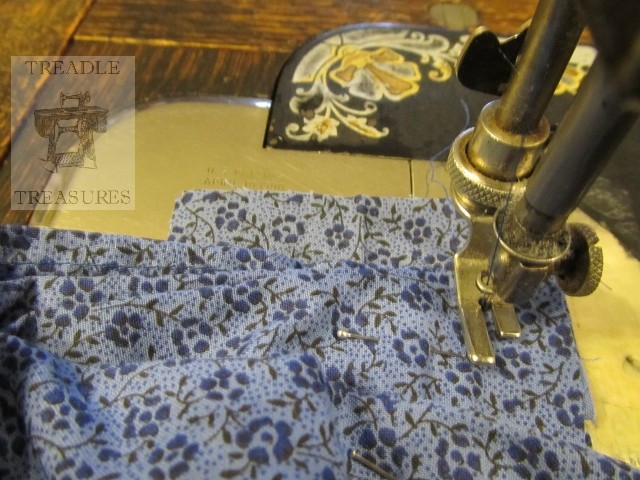
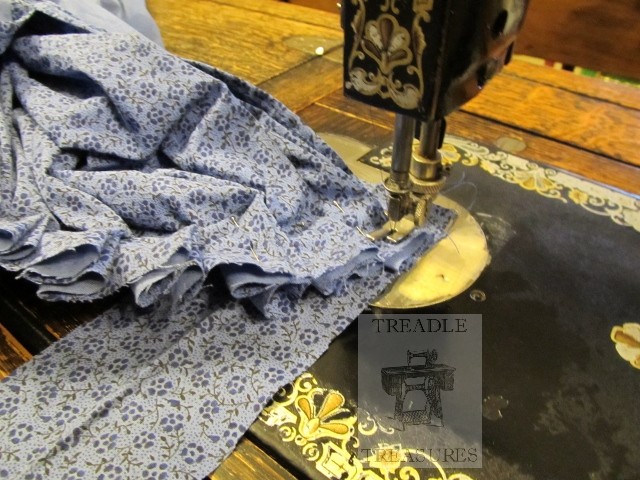
Lay the fabric out with the right side up on both pieces. (I know it’s weird – trust me.) The waist band goes under the skirt, the cuffs under the sleeve or the collar under the shirt body. Leave the seam allowance of the bottom piece sticking out. Sew together keeping the seam allowance edge even. The pictures show two angles, the second one shows the skirt going off to the side but I moved it back when I sewed it. I just wanted you to see the waist band underneath. Sew across the whole length with the seam allowance sticking out on both ends.
Step 2
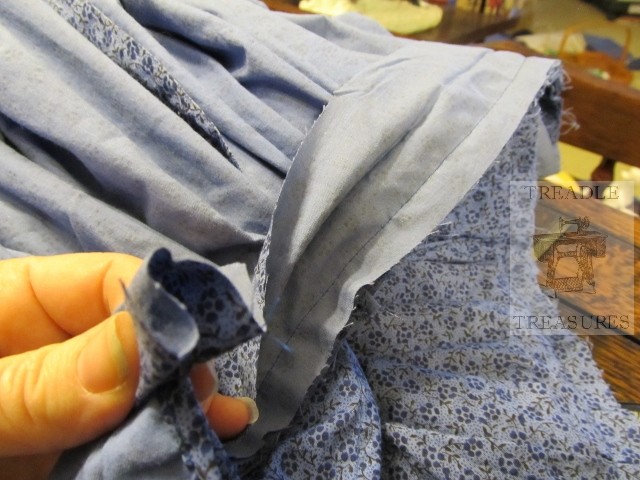
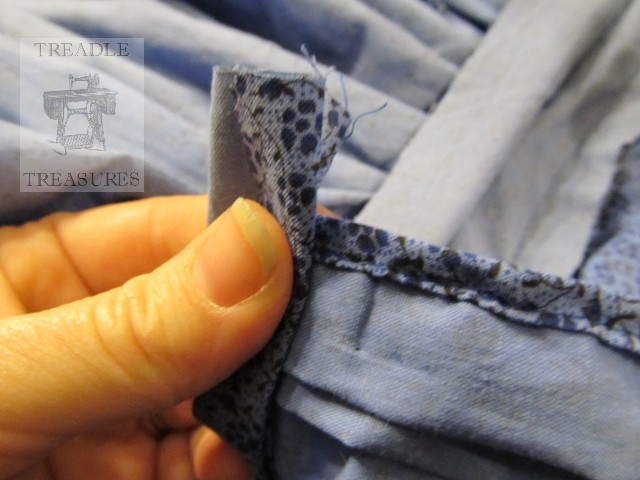
Fold the ends into a “W” type shape with the right sides together in the middle and to the outside on the sides. The “W” will be to the wrong side of the main fabric piece. The sides should be a high as the seam allowance. (Ex: if your pattern calls for 5/8″ seams the height of the sides of your “W” should be about 5/8″. ) The one side will be sewn to the main piece, the bottom point of the “W” on that side should be at that seam.

Step 3
Sew the “W” shut (flat). Place the seam in line with the edge of the main piece. Make sure you don’t catch the main piece in the seam!

Step 4
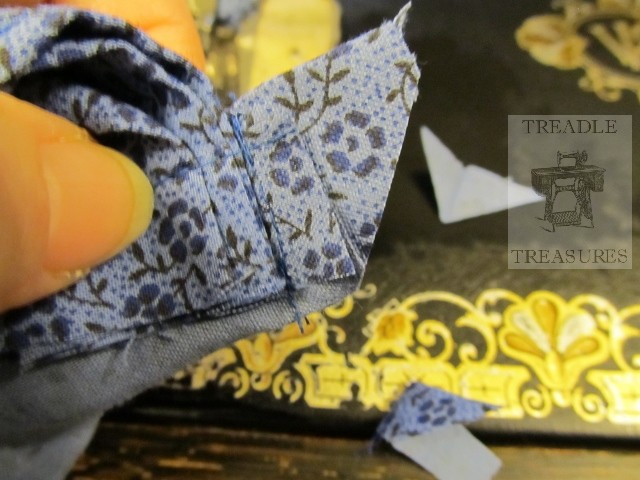
Clip the corner of the seam allowance on your new short seam. It’ is also sometimes helpful to clip off one side of the seam allowance to grade the fabric. This cuts down on bulkiness. Turn right side out and push out the corners.
Step 5
Both fabric pieces will once again be right side up. Top stitch the waist band (collar or cuff) in place. Fold the seam allowance under as you go and place the top piece so that it just covers the first row of stitching. (You don’t want that to show on the front!) WARNING: It will try to creep, pucker or all kinds of other mean and nasty stuff! Make sure that you keep it all even. You may want to pin it in place the first few times you try this. Eventually you will get the knack of it.